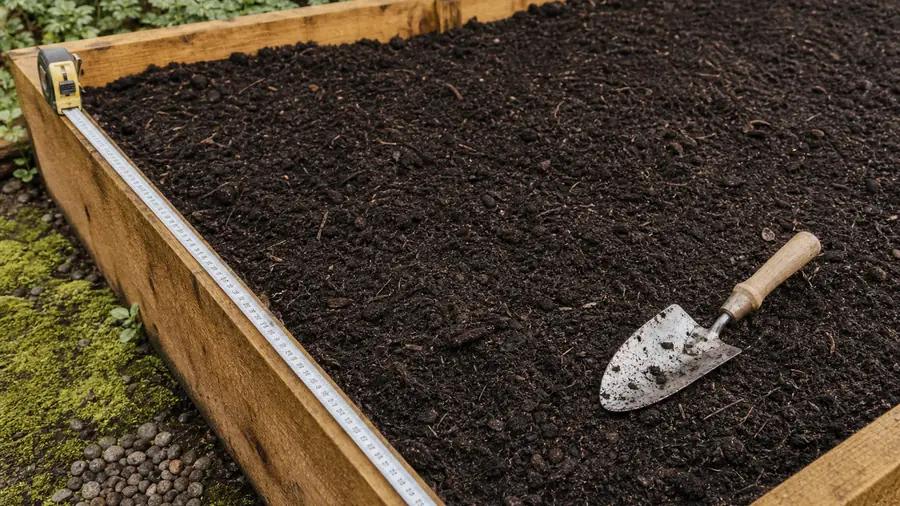

Old organic mulch usually does not need to be stripped from a bed just because a new season has started or its color has faded. First expose the soil line, measure the settled layer in several places, and see whether water passes through it.
The result may be no new material, a light top-up, redistribution, or removal from one problem spot. Treat the bed as existing material to inspect—not an empty rectangle waiting for another full application.
Should you remove old mulch before adding more?
Keep usable organic mulch in place when its total depth is suitable, it admits water, and it stays clear of stems, crowns, and trunks. Loosen a crusted surface, move excess material out of deep zones, and calculate only the difference between the corrected existing layer and the chosen target. Remove material when there is a specific problem that redistribution cannot solve—not for color alone.
Calculate only the missing layerMeasure the remaining mulch before deciding anything
Push a narrow probe to the soil at several representative points and record the settled depth, not the height of loose pieces.
Check high and low areas, the middle of the bed, edges that catch runoff, and spaces around plants. If the material or site changes across the bed, divide it into zones. Four equal zones are more informative than one convenient reading beside the path.
Oregon State University Extension specifically says to determine existing depth before reapplying bark or wood chips. In its woody ornamental guidance, bark should not exceed 3 inches and wood chips should not exceed 4 inches. Rutgers NJAES likewise counts previous and current applications together rather than treating every application as a new layer.
Those figures belong to their stated materials and landscape settings. Select the intended total with the mulch-depth-by-project guide or relevant local Extension advice. This inspection answers a different question: how much of that total is already present and usable.
Keep the old layer when it is loose, correctly placed, and deep enough
If the settled material still performs as a surface mulch, leaving it in place avoids unnecessary removal and prevents accidental over-application.
Organic bark and chips weather, darken, or turn gray as they age. Oregon State describes these color changes while also explaining that the materials decompose over time. Appearance alone does not show whether a useful layer remains. Measure through the surface before buying a cosmetic refresh.
University of Vermont Extension advises checking existing mulch because a tree may already have an ample layer. It suggests raking that material outward and using only a light sprinkling of fresh mulch when appearance needs refreshing. That is different from burying the old layer under several new inches.
A keep decision still requires a placement check. Pull loose material away from plant stems and crowns. Around trees, expose the trunk flare and follow the measured tree mulch-ring guide before judging depth elsewhere in the ring.
Loosen or redistribute a layer that has sealed or shifted
Correct crusting, piles, and bare pockets before adding volume; fresh mulch placed on top does not repair the layer below.
Fine particles can knit together or form a water-repellent surface. Oregon State recommends roughing up the surface before adding more mulch, while Rutgers notes that light raking can break a crust and improve water penetration. Illinois Extension gives similar advice when an old layer has compacted enough to interfere with water entry.
Test the result instead of assuming the rake solved it. Apply water gently and inspect below the mulch after enough time for the soil to become wet. If water runs sideways while the soil stays dry, investigate the material, slope, irrigation method, and soil condition before covering the evidence.
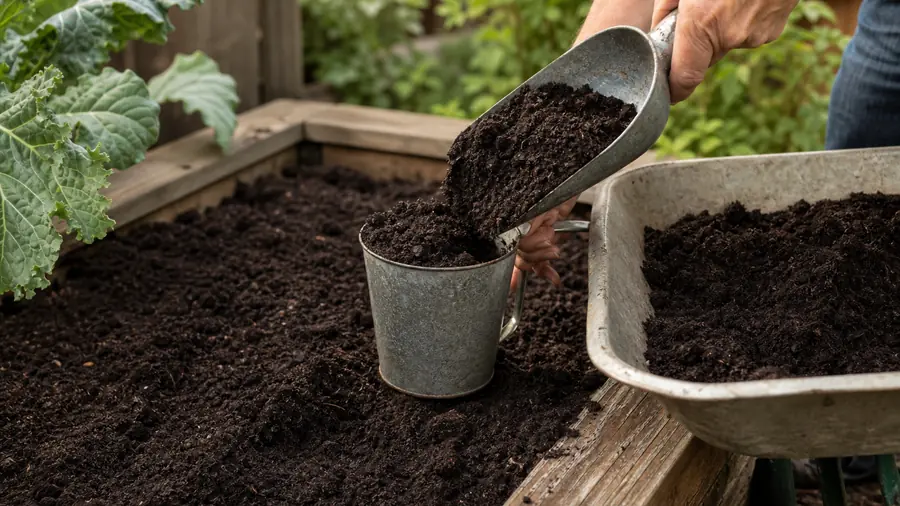
Wind, foot traffic, edging, and previous applications can also create ridges. Move reusable material from an over-deep pile to a bare part of the same compatible bed. Remeasure after leveling. This step can reduce the new order without compromising the intended layer.
Thin material that is too deep or touching plant tissue
Move excess mulch away from trunks, stems, crowns, wet pockets, and zones that exceed the applicable total depth.
Deep mulch is not a reserve supply. Oregon State warns that deep layers combined with overwatering can produce waterlogged soil and poor plant growth. Rutgers recommends no more than 2 inches total on compacted or poorly drained sites in its tree and shrub fact sheet, and 1–2 inches for fine-textured mulch.
Around woody plants, material piled against bark can keep the trunk base moist. University of Maryland Extension advises keeping mulch off trunks and uses a 1–3-inch range for bark or wood chips around trees and shrubs. Remove the contact first, then assess the ring; do not solve an empty center by pushing the same pile upward at its edge.
Relocate clean, compatible excess to a genuinely shallow area or another suitable bed. If there is nowhere appropriate to use it, handle it according to local yard-waste rules. The goal is a defensible final layer, not keeping every piece within the original outline.
Remove old mulch only for a specific, documented reason
Full removal is appropriate when the material itself is unsuitable or a diagnosed site problem requires isolation—not as an automatic annual task.
| What you observe | First action | Why |
|---|---|---|
| Correct depth, loose surface, clear stems | Keep | The useful layer is already present |
| Crust or shallow mat, otherwise suitable | Loosen and test water entry | A new cover would hide the sealed surface |
| Uneven piles or trunk contact | Redistribute or thin | Total depth and placement need correction |
| Known contamination, incompatible debris, or a diagnosed disposal instruction | Isolate and remove as directed | The material should not be reused blindly |
Do not diagnose plant disease from a mulch photo or generic checklist. If a plant has decay, cankers, unusual dieback, or a regulated pest or disease concern, obtain advice from the relevant local Extension office, plant diagnostic service, or qualified arborist. Follow their disposal instructions rather than moving suspect material around the property.
A product change may also need separation. Stone over decomposing wood, dyed material over an unknown landscape fabric, or fresh mulch mixed with construction debris creates a different project from topping up compatible organic mulch. Identify the layers and intended finish before deciding what can safely remain.
Calculate only the missing depth after correction
Subtract the even, usable existing depth from the selected total, and never turn a negative difference into a new order.
Additional depth = target total depth − usable existing depth
Suppose a 180-square-foot bed is checked in four equal zones at 2.5, 2, 1.5, and 2 inches. The simple average is 2 inches, but it hides a one-inch gap between the high and low areas. Redistribute compatible material first, then probe again. If the corrected bed is an even 2 inches and the locally chosen target is 3 inches, only 1 additional inch is required.
The volume is 180 square feet × 1/12 foot = 15 cubic feet. Dividing by 27 gives 0.56 cubic yard. With a verified 2-cubic-foot bag, the raw requirement is 7.5 bags, so the purchase rounds up to 8 whole bags. NIST conversion factors support the inch-to-foot and cubic-foot relationships used in that calculation.
Enter the measured area and the missing 1-inch layer in the Mulch Calculator. If some zones still require different additions, enter them separately rather than averaging a deep zone with a bare one.
After the raw quantity is known, compare whole bags and delivered bulk cost with the bagged-versus-bulk mulch guide. Do not add a full “annual layer” on top of the measured top-up or count the same allowance twice.
Inspect the finished layer instead of emptying the order
Stop spreading when the corrected bed reaches its target, even if material remains in the bag or pile.
Recheck the same points used before the refresh. Confirm that the soil line is still identifiable, water can pass through, and no rake stroke has pushed mulch back against plant tissue. Store clean leftover bags dry or assign excess bulk material to another measured project.
Repeat this inspection when the layer noticeably settles or shifts, not merely because a calendar date arrives. Decomposition, particle size, weather, slope, irrigation, and plant cover all affect how quickly the bed changes.
Keep the field notes with the order: date, material, four probe depths, action taken, added depth, and purchased volume. The next refresh then starts with evidence instead of a memory of how the surface looked.
Old mulch refresh questions
Should old mulch be removed every year?
No automatic annual removal rule applies to usable organic mulch. Measure the total layer, inspect placement and water entry, and act on the observed condition.
Can fresh mulch go directly over old mulch?
Yes, when the old layer is compatible, loose, correctly placed, and shallower than the selected total. Add only the missing depth.
Does gray or faded mulch need replacing?
Not for color alone. Weathered bark and chips can still form a useful layer. Rake, measure, and inspect before deciding whether a light cosmetic refresh is wanted.
Should matted mulch be removed?
Start by lightly loosening the surface and checking whether water reaches the soil. Remove or replace material only when the problem persists or an authoritative site-specific recommendation calls for it.
Sources and decision boundary
- Oregon State University Extension: Mulching Woody Ornamentals with Organic Materials, for existing-depth checks, surface roughing, color change, and bounded depth guidance.
- Rutgers NJAES: Problems with Over-Mulching Trees and Shrubs, for total accumulated depth, drainage limits, and light raking.
- University of Vermont Extension: Beware the Mulch Volcano, for checking and redistributing an ample existing layer.
- Illinois Extension: Ask Extension—Mulch, for loosening compacted old material before adding more.
- University of Maryland Extension: Mulching Trees and Shrubs, for shallow tree and shrub layers and trunk clearance.
- NIST Guide to the SI, Appendix B, for length and volume conversion factors.
Change log: Published July 28, 2026 with a four-point inspection diagram, action table, and checked 180-square-foot refresh example.
Last updated 11 November 2026